Bootable Linux USB
A Linux bootable USB is a flash drive that boots a complete operating system from the stick instead of from the computer's internal disk, letting you run the whole system from 4 to 64 GB of flash storage.
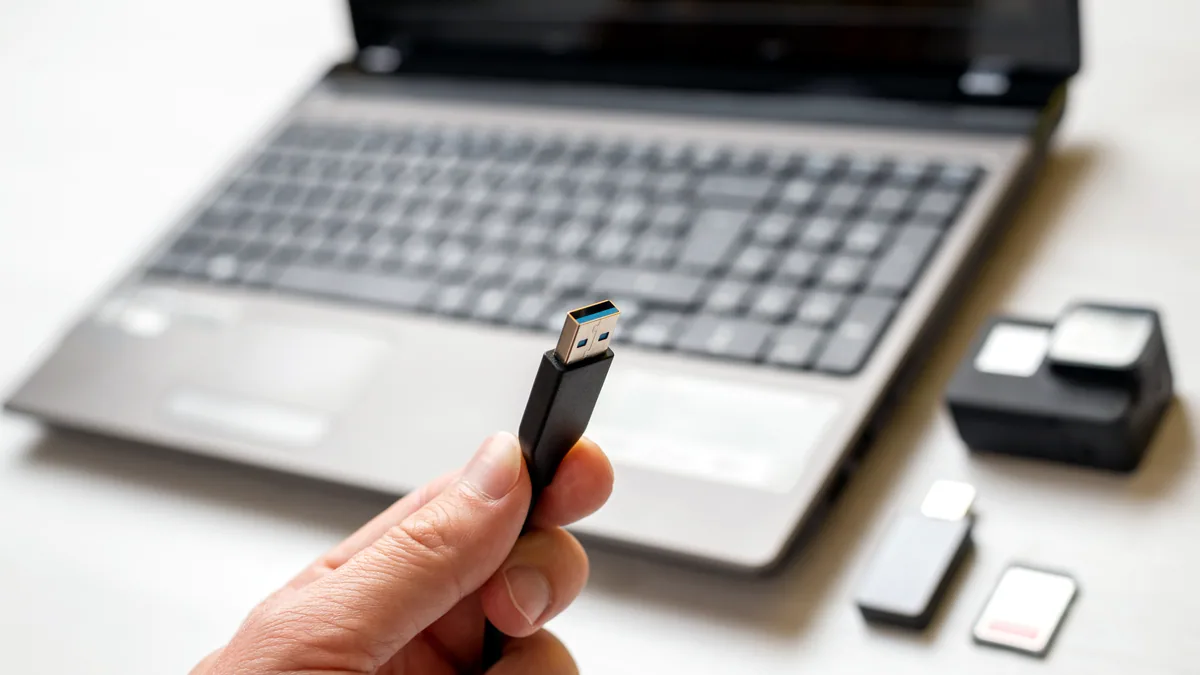
It is the fastest way to test a release, rescue a failing machine, or carry a portable desktop in your pocket, because it never rewrites the disk it boots from. The stick holds an ISO image written to raw sectors, and the firmware hands control to a boot loader such as GRUB or the UEFI EFI bootloader that loads the kernel, the root file system and the desktop into memory.
Two flavours of the same idea cover almost every use: the live USB that runs entirely in RAM and leaves nothing behind, and the persistent USB that saves files and settings back to the stick between reboots. Both draw on the same family of Linux distros, from the minimal Debian installer to the beginner-friendly Linux Mint, and both stay useful on a server once the desktop is removed, which is why the same disk image can double as a maintenance tool for Linux for the LAMP stack. Keep Server-side web stacks and the Linux systems in mind, too: the live environment is a clean copy of the exact stack those servers run, so a problem reproduced on the stick is a problem reproduced in production.
What a bootable USB actually is
A bootable USB is a stick whose first sectors the firmware is willing to trust. In legacy BIOS mode the master boot record at sector 0 points at a small partition that loads GRUB, and in UEFI mode the firmware looks for an EFI system partition formatted as FAT32 that holds a bootx64.efi file. A standard live image packs the kernel, an initramfs and a compressed root file system (often a squashfs of about 1.2 GB) onto a single partition, so the whole operating system fits inside the stick's capacity. Because the kernel and modules load into RAM, a 4 GB stick is enough to run a desktop, and a 64 GB stick adds room for persistence and for the apps you install on top.
Three things separate a working stick from a blank one. The first is the partition table, which must mark a partition as bootable. The second is the boot loader, which the firmware loads and which in turn loads the kernel. The third is the boot mode, because a stick written for UEFI will not boot on a legacy-only machine and a stick written for legacy BIOS will not boot on a UEFI machine with Secure Boot enforcing signatures. Match the mode to the firmware and the three parts line up.
Choosing the right ISO
Choose the ISO to match the machine and the job, because the image you write sets the kernel version, the desktop and the defaults you will live with until you reinstall. The main family of choices runs from a full desktop, such as the standard 6.5 GB Ubuntu ISO or a 3.1 GB Debian netinstall, down to a minimal installer image that pulls packages over the network. A netinstall needs only about a 700 MB ISO plus a connection, so it suits an old 8 GB stick, while a self-contained desktop image suits a 16 GB stick and a machine with no working network.
Weigh three factors before you download. First, the architecture: an x86-64 image for a modern 64 bit CPU, or an i386 image for a 32 bit machine. Second, the desktop weight, which decides how much RAM the system wants; a light Xfce build is comfortable on 2 GB of RAM, while a heavy compositing desktop wants 4 GB or more. Third, the release age, because a current release carries a newer kernel and better hardware support, which matters for recent Wi-Fi cards and for NVMe drives.
Writing the ISO to the stick
Write the ISO as raw bytes to the stick, not as an extracted folder, or the firmware will not find a valid boot sector and the machine will skip the stick entirely. Three tools do the job. On Linux, dd copies the image byte for byte with a single command, and a 4 GB image at about 20 MB per second takes roughly 4 minutes. On Windows, the built-in tool is the Media Creation utility or the Rufus program, which exposes the choice between DD mode and ISO mode; pick DD mode to get a raw byte copy. On macOS, the diskutil utility unmounts the stick and a dd command writes the image in the same way.
Three habits keep the write safe and correct. Wipe the stick first, if it holds data you want to keep elsewhere, because the write destroys every file on it with no undo. Verify the ISO before you write, by comparing its checksum to the value published on the release page, so a corrupt download does not become a corrupt stick. And let the write finish fully, because an interrupted dd or an unplugged stick leaves a half-written image that will not boot. After the write, reseat the stick in the target machine so the USB controller reads the fresh sectors.
Booting from the stick
Boot from the stick by telling the firmware to read the USB before the internal disk, then selecting the live entry from the boot menu. The boot key differs by vendor: F12 or F8 on many Dell and Lenovo machines, F2 or Del to enter the setup where you change the boot order, and Esc on some HP models. When the firmware sees the stick, it hands off to GRUB or the EFI loader, and the live session starts, loading the kernel and unpacking the root file system into RAM in about 30 to 60 seconds on a modern machine.
Four settings decide whether the stick boots cleanly. The boot mode must match the stick, so a UEFI-written stick needs a machine with UEFI enabled, not legacy mode. Secure Boot must be off, or the image must carry a signed loader, because an unsigned GRUB is refused by default. The stick should be the first entry in the boot order, so the machine reaches it without you pressing a key each time. And the USB port should be one the firmware still enumerates, because on some laptops the front ports are disabled while only the rear ones are active in the early boot stage.
Adding persistence
Add persistence by giving the live system a second partition it writes to, so files in your home folder, your settings and the packages you install survive a reboot. Without it, a live session runs from RAM and every change vanishes the moment you power off. A common layout uses a 16 GB stick split into a 6 GB read-only squashfs root and a 10 GB ext4 persistence partition, and the boot entry is given a parameter such as persistence to tell the init system to mount that partition onto the home directory. The overhead is small: persistence adds a mount at boot and a flush on shutdown, so a session with persistence still starts within a few seconds of the non-persistent one.
Size the persistence partition to the work, not to the stick. For a rescue stick that only needs a browser and a couple of documents, 4 GB is plenty. For a portable office that carries a mail client, a document suite and a code editor, 10 to 16 GB is a safer range. And keep persistence in a single partition, because the live system expects one mount point and a split layout is harder to rebuild if the stick fails.
Trying a distro before you install
Try a distro before you install by spending a full working session in the live environment, because the live session is a faithful preview of the installed system and it costs nothing to leave. Run the machine the way you will use it: connect to Wi-Fi, open the display manager, launch the applications you rely on, and push the hardware, such as the trackpad, the audio and the external monitor, for a few minutes. Most real incompatibilities, like an unrecognised Wi-Fi card or a black screen after login, show up inside 10 minutes of use rather than after an hour of installing.
Check four things while the session runs. The hardware support, by confirming that every device the machine depends on works without manual drivers. The release fit, by looking at the version string in the about panel, because a current release means longer security support ahead. The desktop weight, by watching memory in a system monitor, so you know the session will stay responsive on your machine. And the boot time, so you have a baseline to compare against the installed system later. If all four look right, the same ISO you tested is the one you install.
| Stick size | Layout | Best use |
|---|---|---|
| 4 GB | Live image only | Rescue and a quick test |
| 8 GB | Live image plus a small persistence file | Documents and a browser |
| 16 GB | Live image plus a 10 GB persistence partition | Portable office and code |
| 64 GB | Live image plus a large persistence partition | Full working desktop that installs apps |
A stick this way is a working copy of the machine, not a toy, so treat the persistence partition like a small disk: keep a backup of anything that matters, and rewrite the image cleanly whenever the partition fills up or the session slows. When the preview matches the job, you are ready to install, and when it does not, the next ISO on the list is only one more download away.